Introduction
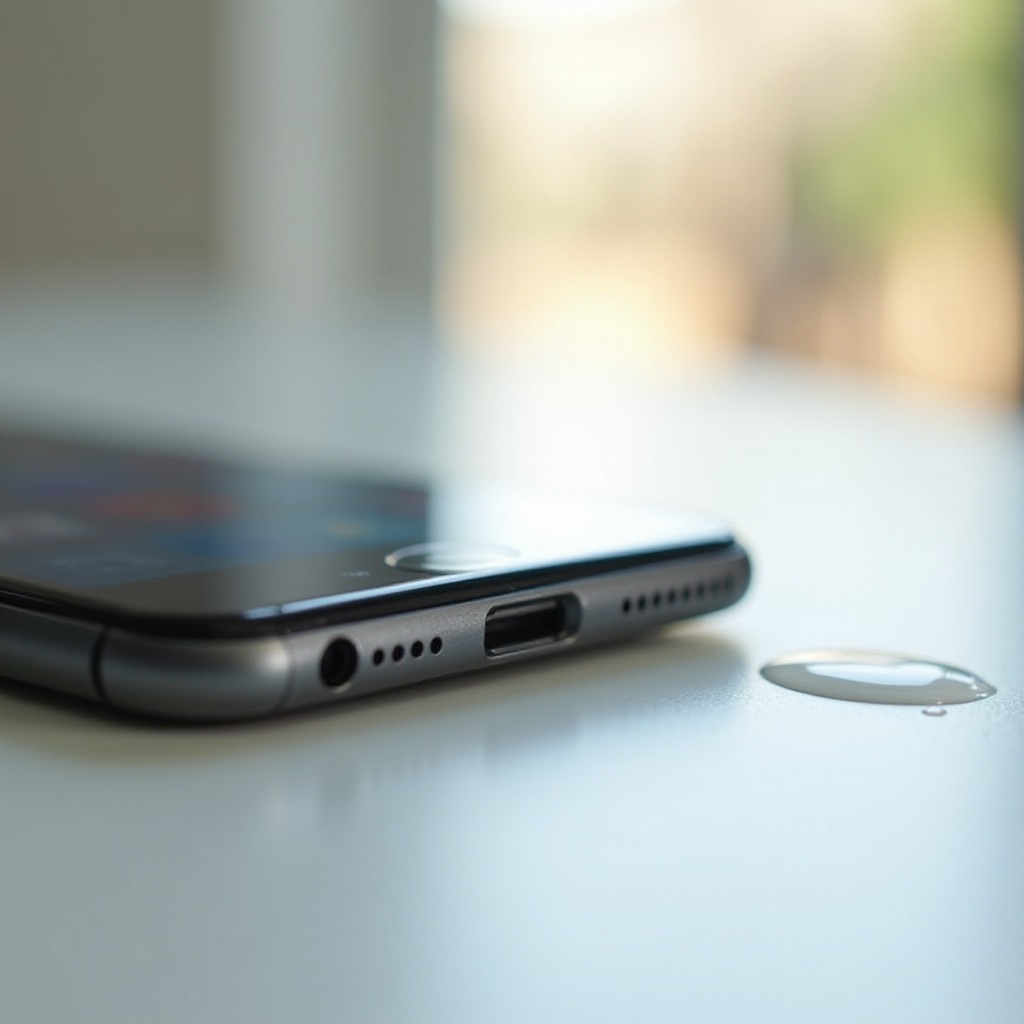
Finding your phone charger port wet can lead to panic. Water or moisture in the charger port can stop your phone from charging and might even cause permanent damage. This comprehensive guide will walk you through the steps you need to take to safely dry your phone charger port. From immediate actions to more advanced techniques, we’ve got you covered to restore your device’s functionality without any long-term damage. Let’s walk through each step to ensure your phone is back to normal in no time.
Power Off Your Device
The first thing you should do when you discover moisture in your phone’s charging port is to power off your device immediately. This step is crucial in preventing any short circuits that may occur due to the presence of moisture. Not powering off your device can lead to significant internal damage, beyond just the charging port.
Remove Accessories and Immediate Actions
Once your device is powered off, remove all accessories. This includes any cases, chargers, headphones, or external battery packs. An unencumbered device has better chances of drying out because there are no obstructions trapping the moisture inside.
Immediately, you should try to shake off any visible water droplets gently. Hold your phone with the charging port facing downwards and give it a gentle shake to let gravity do some work. Avoid shaking vigorously as it could push water deeper into the device.

Initial Drying Methods
Now that you’ve removed immediate water droplets, the next steps involve using simple, preliminary drying techniques which are quite effective if done correctly.
Using a Dry Cloth
Use a soft, lint-free cloth to gently dab around the charging port area. Press the cloth around the port to absorb as much moisture as possible. Do not insert the cloth directly into the port; this could cause fibers to get stuck inside.
Gravity Method
One effective and straightforward method to hasten the drying process is to let gravity help. Position your phone with the charging port facing downward at an angle. This allows excess water to drip out naturally. Place it in a stable position where it can’t easily be knocked over.
The Patience Method
Sometimes, waiting is the most effective solution. Place your phone in an upright position with the charging port facing down in a dry, well-ventilated area. Leave it undisturbed for several hours or even overnight. This allows any internal moisture to evaporate naturally without forcing it out.
Household Remedies
If the initial drying methods don’t seem sufficient, there are several household remedies you can use to hasten the drying process.
The Rice Method
This is a widely-known method where you place your phone in a bowl of uncooked rice. Rice can absorb moisture effectively. However, this method should be a last resort because rice particles can get stuck in the charging port and cause further issues.
- Ensure your phone is powered off.
- Place it in an airtight container filled with uncooked rice.
- Leave it there for a minimum of 24 hours, preferably 48 hours.
Using Silica Gel
Silica gel packets are fantastic for absorbing moisture. You often find them in new shoe boxes or with new electronics.
- Gather several silica gel packets.
- Place your phone and the silica gel packets in an airtight container.
- Leave it for at least 24-48 hours for the best results.
Advanced Techniques
If you need quicker results or the initial and household methods don’t work, there are advanced techniques you can try.
Compressed Air
Using canned compressed air can be highly effective.
- Hold the can at an angle and use short bursts to blow air into the charger port.
- Avoid spraying directly or from too close as it can add more moisture.
Isopropyl Alcohol Treatment
Isopropyl alcohol can displace water and evaporate quickly.
- Use a highly concentrated isopropyl alcohol (90% or more).
- Dampen a lint-free cloth with the alcohol and dab around the charger port lightly.
- Let the phone air dry in a well-ventilated area.
Specialized Phone Drying Kits
If you frequently experience this issue, investing in a specialized phone drying kit might be a sound investment.
- These kits come with instructions and are designed specifically for electronic devices.
- Follow the instructions to achieve the best results and potentially save your device from damage.
What to Avoid
While figuring out ‘how to dry your phone charger port,’ it can be tempting to employ random or intuitive methods. Here are some practices you should absolutely avoid:
- Do not use a hairdryer or any hot air blower. This can force moisture deeper into the device and cause overheating.
- Avoid inserting objects into the charger port. This includes cotton swabs, tissue paper, or any other item that can leave residues or further damage the port.
- Do not place your phone in direct sunlight. Excessive heat can damage internal components.
Preventing Future Issues
To avoid dealing with a wet phone charger port again, take preventive measures:
- Keep your phone away from water sources, such as sinks and bathtubs.
- Invest in waterproof cases or covers.
- Be mindful of using your phone in the rain or in environments where water exposure is likely.
Conclusion
Having a wet phone charger port is undoubtedly concerning, but following these methods can effectively address the issue. By taking immediate action and employing a combination of initial, household, and advanced drying methods, you can save your device. Understanding what to avoid and how to prevent future incidents helps maintain your phone’s longevity.
Frequently Asked Questions
Can I use a hairdryer to dry my charger port?
No, using a hairdryer can force moisture deeper into the phone and cause heat damage.
How long does it take for a phone charger port to dry?
Depending on the method used, it can take anywhere from a few hours to a couple of days.
What if my phone still doesn’t charge after drying the port?
If your phone still doesn’t charge, consult a professional technician as there may be internal damage that requires repair.