Introduction
Building a computer from scratch can seem like a daunting task, but it’s more accessible than many think. Whether you’re an avid gamer, a tech enthusiast, or someone who simply wants a customized PC, assembling your own machine offers numerous benefits. You’ll not only gain insightful knowledge about how computers work, but you’ll also have the freedom to select components tailored specifically to your needs.
Building a computer comprises various steps, each requiring different levels of expertise. While it may initially appear complicated due to the number of components and precise connections involved, a well-organized guide can make the process straightforward and even enjoyable.
Understanding the Benefits of Building Your Own Computer
Creating a custom-built computer has substantial advantages. First, you gain control over the quality and specifications of each component. This means you can prioritize performance in areas that matter most to you, such as gaming, video editing, or general productivity.
Secondly, building your own computer is often more cost-effective than buying a pre-assembled one. Retailers typically mark up the prices of components and add additional costs for assembly. By purchasing your parts and assembling them yourself, you save money while avoiding unnecessary bloatware and trial software commonly included in pre-built systems.
Moreover, the learning experience is invaluable. Understanding how components interact and how to assemble a functioning computer enhances your troubleshooting skills and confidence in handling tech-related issues. Lastly, there’s a sense of pride and accomplishment that comes with successfully building your own PC, turning a pile of components into a powerful, working machine.
Breaking Down the Components
CPU (Central Processing Unit)
The CPU is the brain of your computer. It processes instructions from software and hardware. More cores and higher clock speeds indicate better multitasking and performance.
GPU (Graphics Processing Unit)
The GPU handles rendering images and video. Essential for gaming and graphic design, a powerful GPU ensures smooth visuals and better performance in demanding applications.
Motherboard
The motherboard is the central hub connecting all components. Choose one with compatible sockets for your CPU, ample RAM slots, and necessary peripheral connections.
RAM (Random Access Memory)
RAM temporarily stores data for quick access by the CPU. Higher capacity and speed can significantly enhance multitasking and performance in memory-intensive tasks.
Storage (HDD/SSD)
Storage options include HDDs and SSDs. SSDs are faster and more reliable but costlier. Combining an SSD for your operating system and applications with an HDD for data storage balances speed and capacity.
Power Supply Unit
The PSU provides power to all components. Ensure it offers sufficient wattage and has the necessary cables for all your parts.
Case
The case houses and protects your components. Choose one that fits your motherboard size, offers good airflow, and has ample room for future upgrades.
Cooling System
Maintaining optimal temperature is crucial. Cooling systems include air coolers and liquid coolers. Choose one compatible with your CPU and case dimensions for efficient heat dissipation.
Essential Tools for Building a Computer
Before you start, gather essential tools. You’ll need a Philips-head screwdriver, anti-static wrist strap to prevent static damage, and thermal paste for the CPU. Needle-nose pliers can be useful for small connectors. Ensure you work in a static-free environment, and have a flashlight handy for better visibility.
Step-by-Step Guide to Building Your Computer
Preparing Your Workspace
- Clear your workspace.
- Lay out all components and tools.
- Ground yourself using an anti-static wrist strap.
Installing the CPU
- Open the CPU socket on the motherboard.
- Align the CPU according to the marked indicators.
- Carefully place the CPU into the socket and secure it.
Mounting the Motherboard
- Attach standoffs to the case.
- Align the motherboard with the standoffs and secure it with screws.
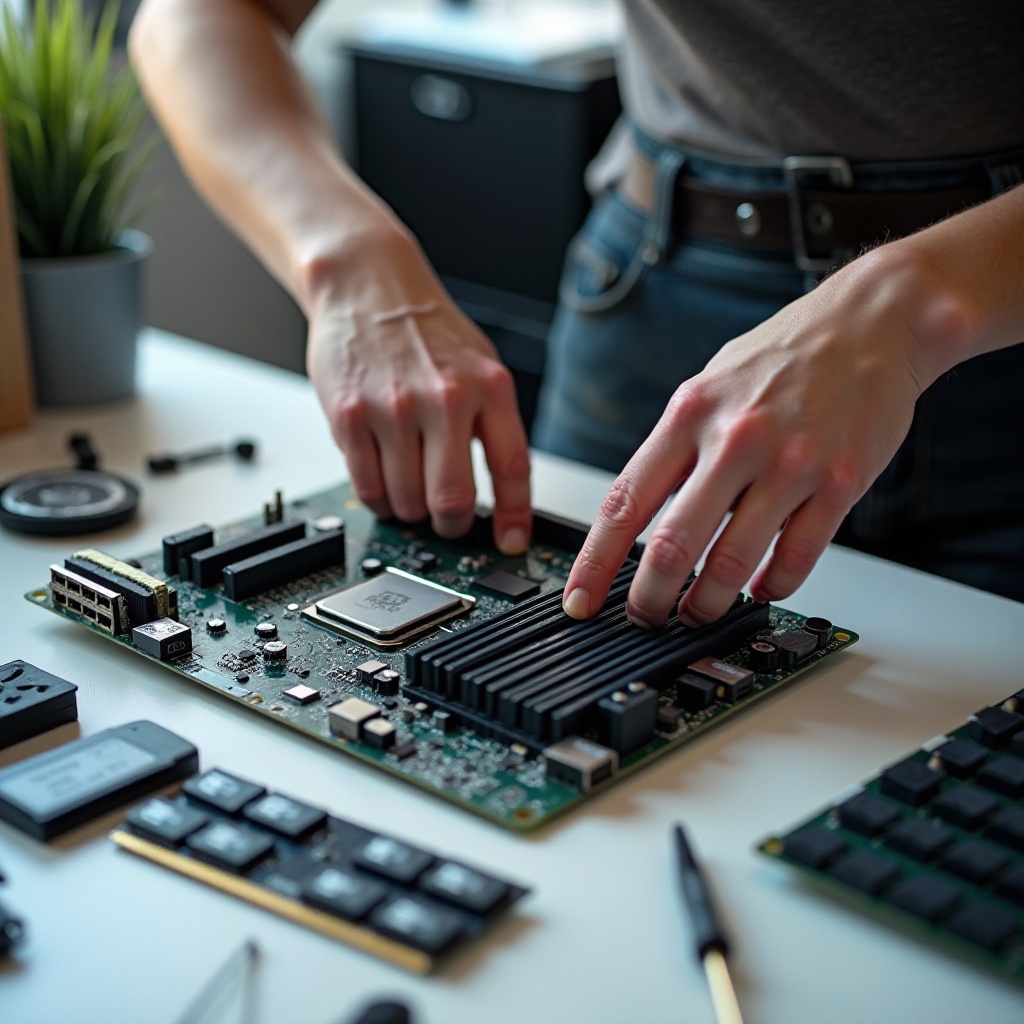
Installing RAM
- Open the RAM slots on the motherboard.
- Align the RAM module and press down until it clicks.
Placing the Power Supply
- Position the PSU in its designated area in the case.
- Secure it with screws.
Installing Storage Drives
- Insert your drives into their respective bays.
- Secure them and connect power and data cables.
Setting Up Cooling System
- Attach the cooling system to your CPU.
- Ensure fans or radiators are securely mounted.
Connecting the GPU
- Insert the GPU into the PCIe slot.
- Secure it with a screw and connect power cables.
Managing Cables
- Use cable ties to organize wires.
- Tidy up cables to ensure good airflow and aesthetics.
Initial Setup and Software Installation
BIOS Configuration
- Power on the computer.
- Enter BIOS and check if all components are recognized.
- Adjust settings like boot order if necessary.
Operating System Installation
- Insert OS installation media (USB or DVD).
- Follow on-screen instructions to install the operating system.
- Install essential drivers and updates.

Troubleshooting Common Issues
No Power or No Boot
- Check power connections.
- Ensure the power switch is on.
- Verify PSU functionality.
Overheating Problems
- Check if the cooling system is properly installed.
- Ensure good airflow in the case.
- Reapply thermal paste if necessary.
Connectivity Issues
- Verify cable connections.
- Check device drivers.
- Troubleshoot the specific components.

Conclusion
Building your own computer provides customization, cost savings, and educational benefits. While it may seem intimidating, careful planning and following step-by-step guides make the process manageable and rewarding. You’ll end up with a machine tailored to your specific needs and preferences.
Frequently Asked Questions
Is building a computer cheaper than buying one?
Yes, building a computer can be cheaper, as you avoid markups and have control over selecting cost-effective components.
How long does it take to build a computer?
The time varies, typically between 3-5 hours. It includes assembly, software installation, and initial testing.
Do I need technical knowledge to build a computer?
Basic understanding helps, but with detailed guides and resources, even beginners can successfully build a computer.